
Tubeless How To
A simple guide to tubeless tires

Why would you want tubeless tires anyway?
While there’s a higher learning curve than with tubed tires, tubeless tires can reduce flats by sealing up punctures. Watch this GCN video of Jeremy Powers riding over nails and not getting a flat. Tubeless can be lighter weight than a tubed setup, though that may even out after the weight of sealant is accounted for. Also, tubeless setups can be run at a lower pressure, resulting in a faster and more ~~supple~~ ride (Tarck standardized suppleness test: lean tire against wall and see if it sags).
Which rims and tires should I use?
This answer depends on your expected use, desired ride feel, and budget. Use the Tarck Approved database as a starting point.
Contents:
A. Taping the rim
B. Seating the bead
C. Sealing
D. Maintenance
E. Troubleshooting
A. Taping the Rim
1. Choice of tape
Most tape is probably okay so long as you have the right width for your rims. Technique matters more overall.
2. Taping technique
Two wraps of tape around the rim should be good in most cases. In unusual circumstances, more wraps may be needed (e.g. if a tire wont seat or hold air).
Start your tape 4 spoke holes before the valve stem hole, wrap twice around, and end 4 spoke holes after the valve stem hole. While taping, try to keep some tension on the tape, but you don’t need to hulk out.
3. Install the valve stem
Once you’ve finished taping, you’ll need to install the valve stem. Cut an x into the tape, push the valve stem through the hole, and tighten it securely. Air can leak from around the valve stem, so make sure it is tight, but not too tight to avoid damaging the rim.
B. Seating the bead
1. Equipment
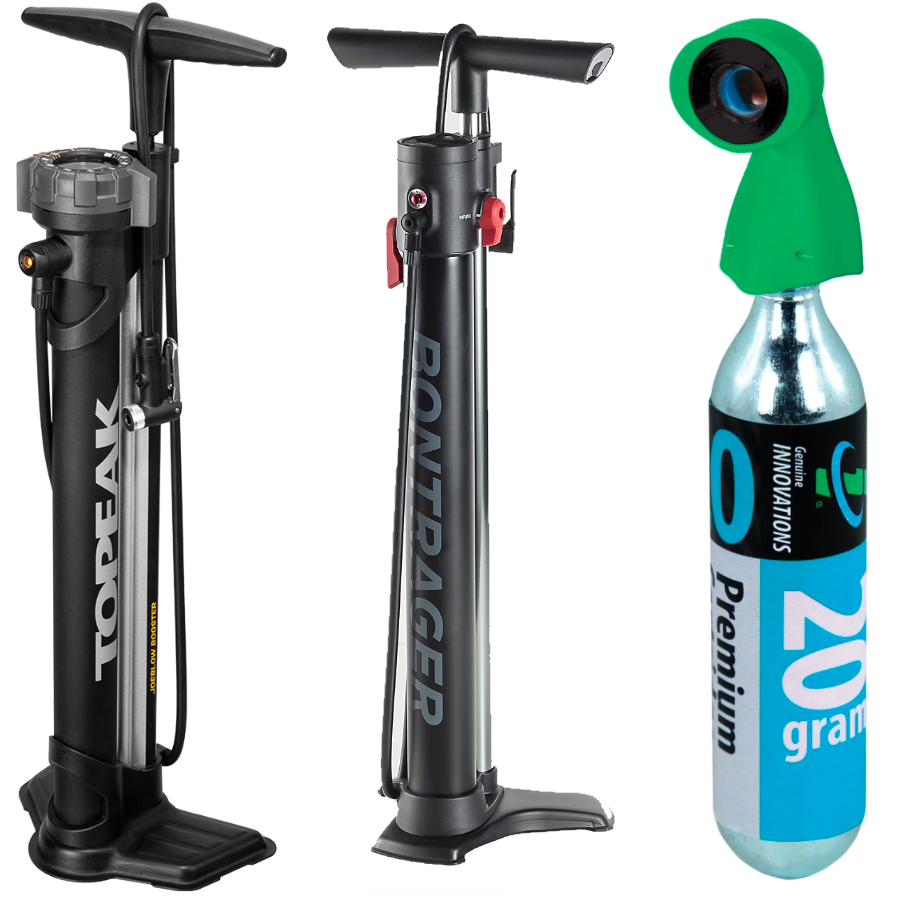
While it is entirely possible to seat road and mountain bike tires with a standard floor pump, a tubeless specific pump can make this process easier. The Topeak Joe Blow Booster has good reviews and works well, though the head leaves a little to be desired. The Bontrager Flash Charger is a little cheaper and still an okay option. Between the two, you’ll be fine buying what your local bike shop has in stock. If you have one available, an air compressor can make seating tires very easy. Alternatively, you can use a CO2 cartridge to seat the bead and take a couple extras with you when you ride.
2. Fit the tire
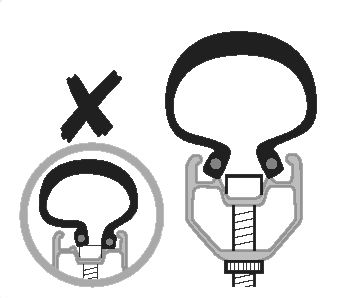
Work the tire around the wheel and pull each side of the bead into the valley in the center of the rim. The beads may get caught around the valve stem, so check this area and ensure the beads are on either side of the valve stem.
3. Inflate
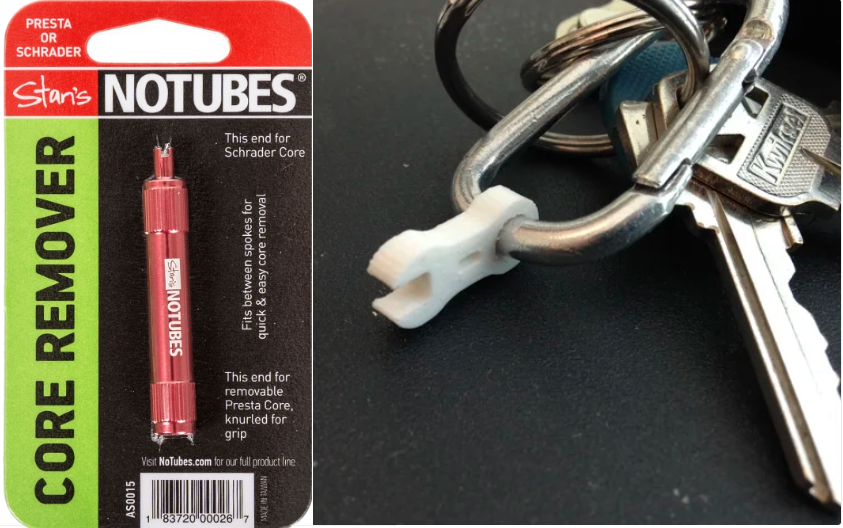
To increase airflow into the tire, remove your valve core before seating the bead. Presta valves are 7mm wide, so you can use an adjustable wrench or dedicated valve core removal tool.
Use your preferred pump to inflate the tire. You’ll know it’s seated when you hear several alarmingly loud “pops.”
Seating the bead can be difficult on certain combinations of rims and tires. Rubbing the bead in soapy water or window cleaner can reduce friction and help the bead slide into place. Before moving on, inspect the area around the valve stem one more time to ensure the tire bead has seated and isn’t caught on the stem.
C. Sealant
1. Choice of sealant, patch kits, and tools
Orange Seal and Stan’s are popular choices of sealant. Most patch kits are compatible with these and other sealant brands. However, the Stan’s DART patch kit is only compatible with Stan’s sealant.
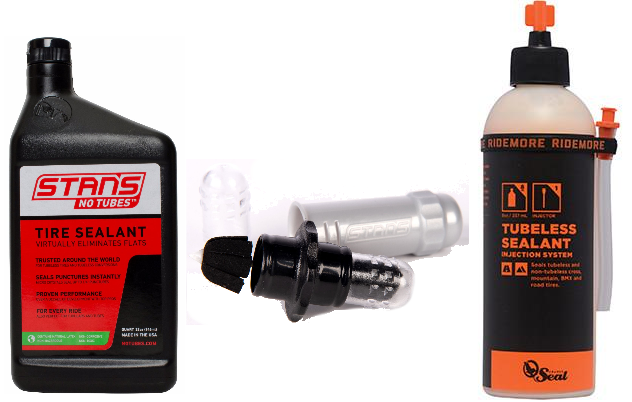
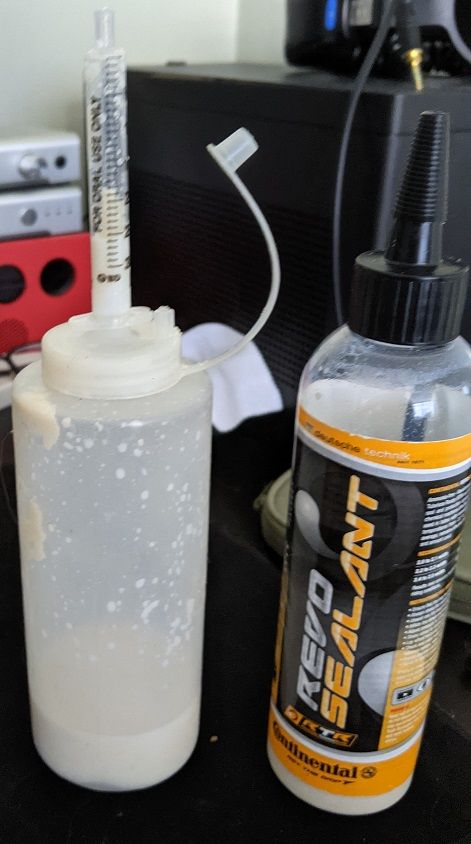
While some bottles of sealant come with a cap that can fit in the valve stem, a syringe can help reduce mess when adding sealant. A syringe sometimes comes with the sealant (e.g. smaller Orange Seal bottles), or injector syringes can be found on Amazon for under $10 (and often come in kits with extra valve cores and a valve core removal tool).
2. Add sealant
With your valve core removed and the valve stem at the 12 o'clock position, put your bottle or injector up to or into the valve stem. Keeping the valve stem and sealant bottle together, roll the tire until your bottle or injector is at the 6 o’clock position. Squeeze it out. Sealant is chunky, so you may have to squeeze a bit more if a chunk is stuck. Roll the tire slowly to put the valve stem back to the 12 o’clock position so you don’t spill sealant all over the floor. Wipe off any sealant that spilled, and re-install the valve core so your sealant doesn’t leak.
3. Inflate
Inflate to like 20 psi for mountain bikes or 60 psi for road bikes. Too high tire pressure can negatively affect sealant buildup or even pop the bead.
4. Shake
Shake the wheel thoroughly to coat the entire inside of the tire. Example techniques:

The ship captain: hold the rim like a ship’s wheel. Turn the wheel back and forth.
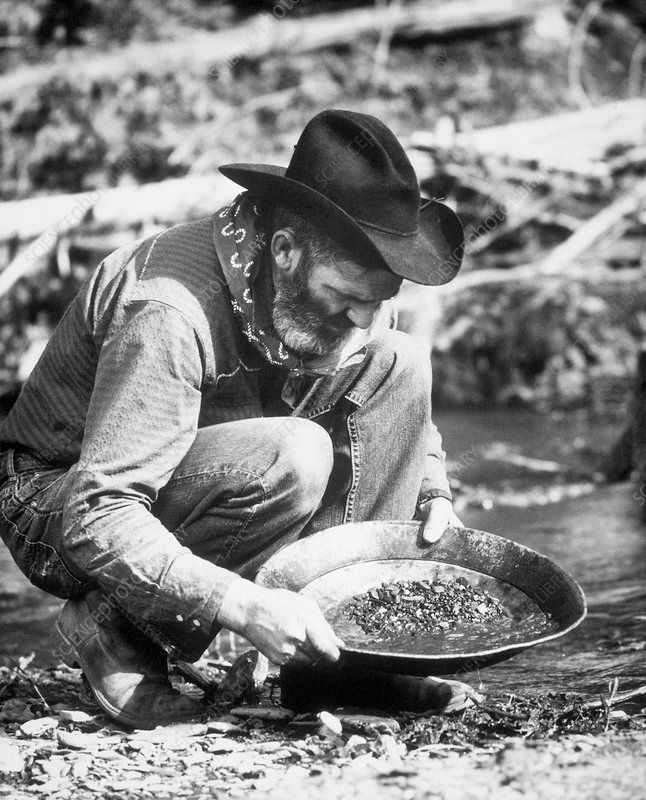
The gold miner: hold your tire in your hands like a gold miner panning for gold. Shake back and forth for both sides of the tire.
Feel free to experiment, but just shake it well so the sealant coats the entire inside of the tire. Continental recommends, after shaking, that the wheel be left on one side for 15 minutes and then flipped to ensure the sealant builds up on the sidewall. Certain tires have more porous sidewalls and letting the sealant pool can help prevent leaks.
Don’t be worried about sealant escaping through the bead, it means the sealant is forming a bond to prevent further leaks.
5. Check
After an hour or so, has it lost much pressure? If so, add another ounce of sealant, pump the tire back up, and shake again. If it is still losing significant amounts of air, check the troubleshooting guide below.
D. Maintenance
1. Sealant tips
Because the sealant will dry out, it may need replenished every 6 months, sooner with greater use. Dry sealant won’t fill punctures anymore, increasing a risk of a flat.
It’s easiest to top up your tire with the sealant you used originally. If you want to switch brands, you can mix a bit of the old sealant and a bit of the old sealant together in a cup. If it mixes well and doesn’t curdle, then you should be good to go. Stan’s sealant may be incompatible with other brands of sealant.
2. Patches
For cuts and punctures, rotate them to the bottom and shake the tire. Sealant should pool, escape through the puncture, and then form a seal. Add some more air and you should be good to go (or at least hold enough pressure to get you home)
For punctures too big for sealant alone, use a patch kit. The park tools patch kit is well recommended. The “bacon” looking rubber strips are a tire plug that can patch pretty big holes. The plug sticking out of the tire can be trimmed with a knife when you get home (though it’ll make some noise along the way). And, if you use Stan’s sealant, the DART is a good option.
E. Troubleshooting
Depending on your brand of sealant, tire, and rim, the temperature, and uncountable other factors, it may take a while for the sealant to set and plug all the leaks. Checking pressure, adding some sealant, and pumping back up over the course of a few days (with shaking, flipping, etc.) may resolve the problem.
1. Easy ways to find and fix leaks
Listen for leaks:
- near the valve stem - make sure the stem and valve core are tight
- near a spoke hole - may indicate a problem with your tape
- near the sidewall or the bead - check that the bead is set by pinching the width of the tire.
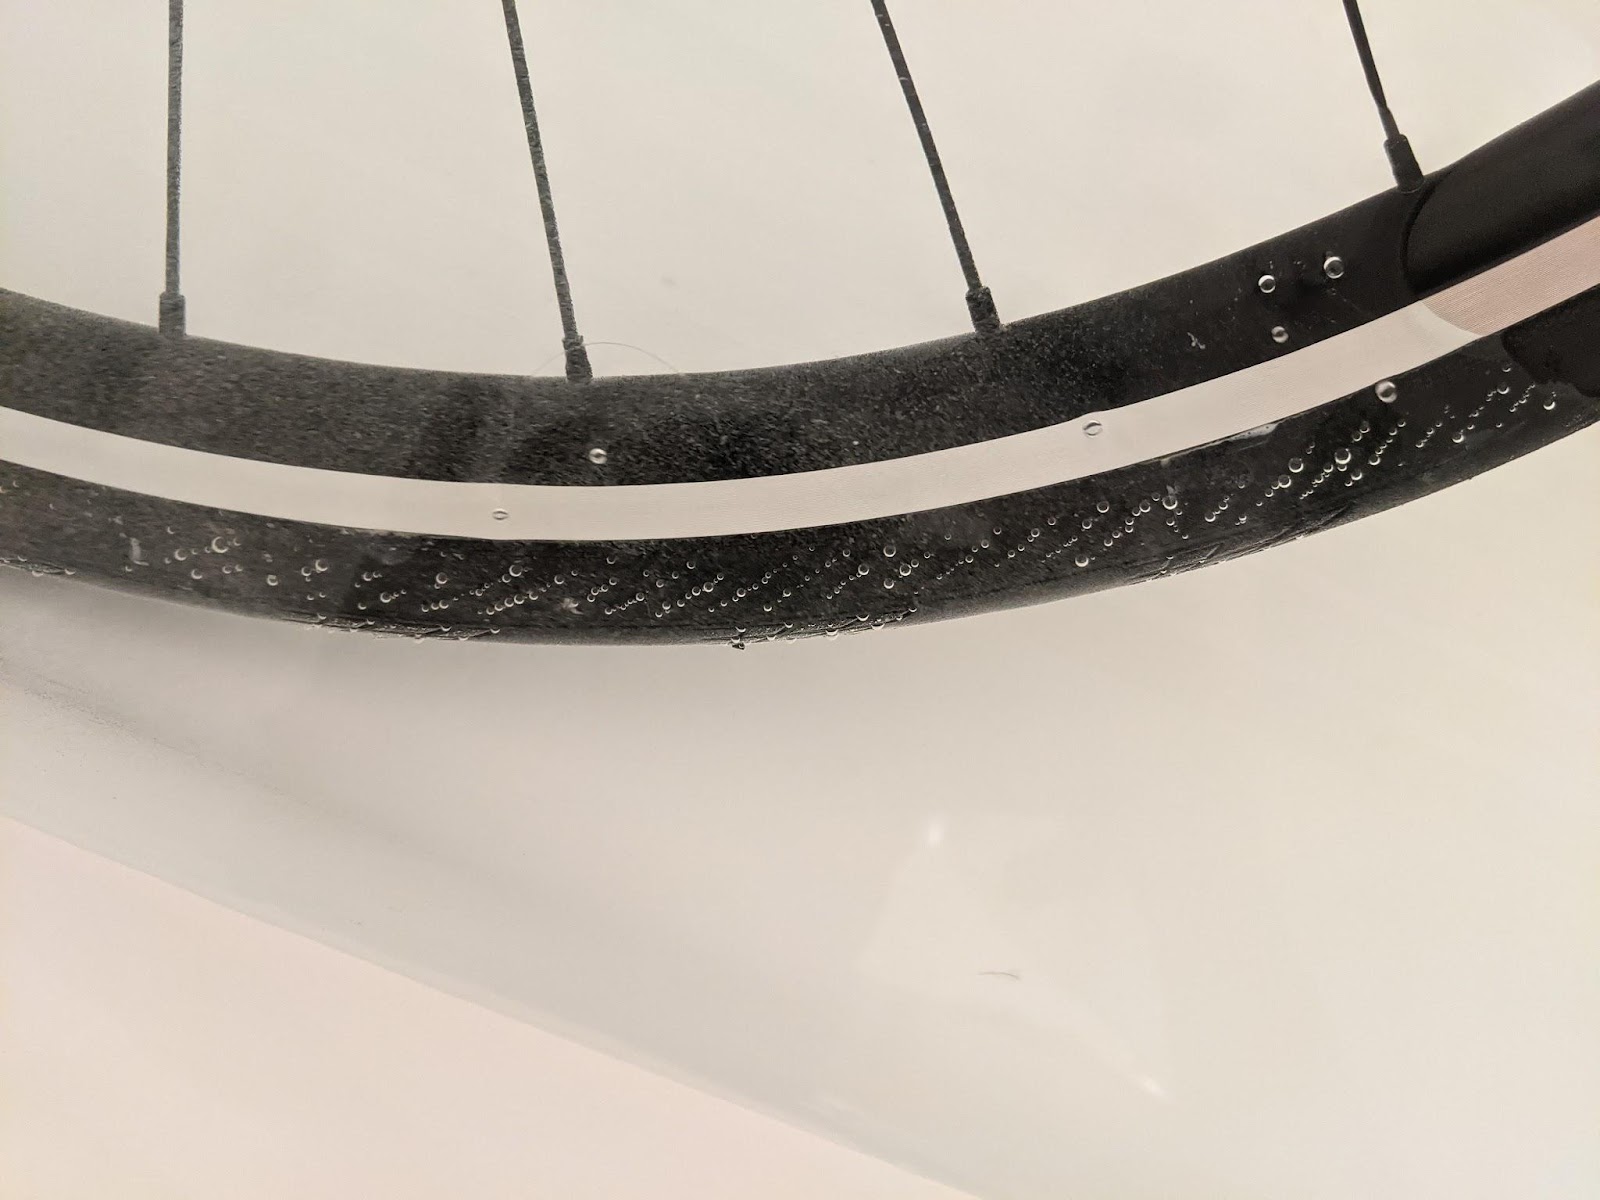
See the leaks
- Spray soapy water on the wheel and see where the bubbles are forming
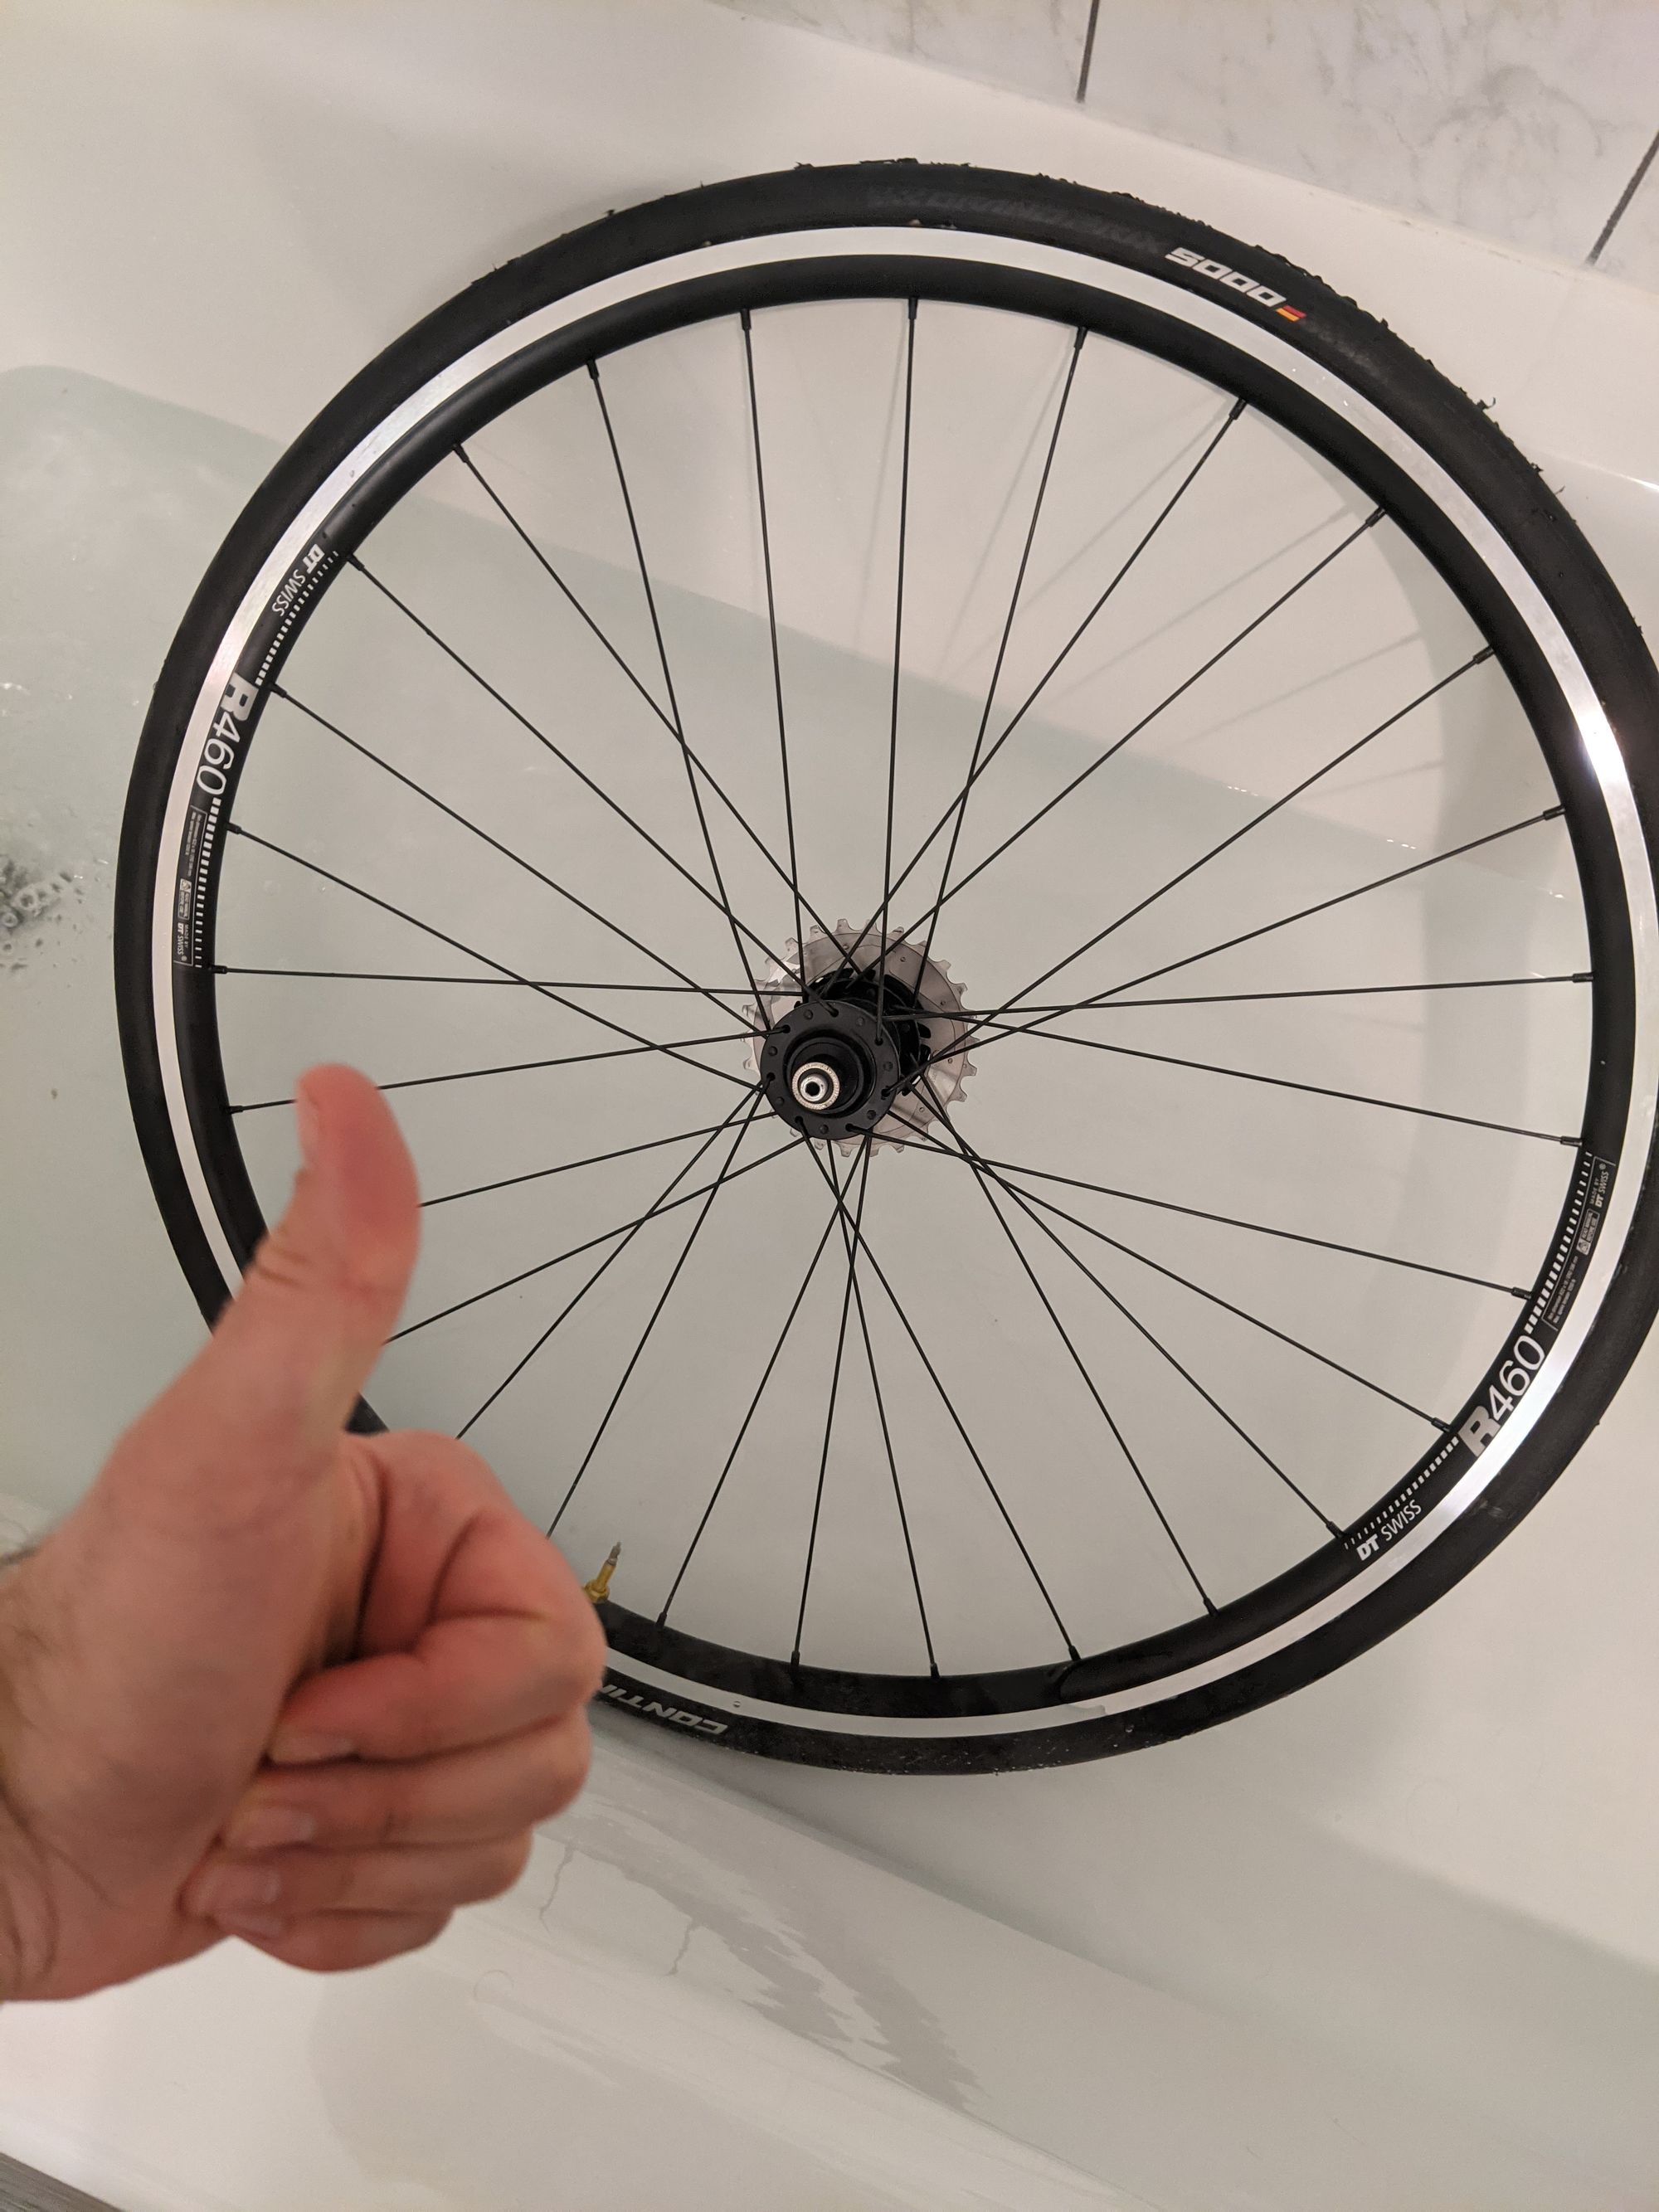
- Dunk your wheel in the tub to see where the bubbles form. Don’t be a dingus and leave your wheel in the tub too long otherwise water will get in your rim and it’s a pain to get out.
2. Advanced troubleshooting
You may need to re-tape the rim, especially if soapy water or a dunk suggests that air is escaping through the spoke holes or valve stem after tightening. Be sure to crack open a bead and empty the sealant out first before completely removing the tire. Best practice is to remove the old tape and clean the rim with isopropyl alcohol to remove any residue.
If air is still leaking from the bead, this may be due to a defect in the bead, the rim, or an incompatible combination of tire and rim. Before removing anything, you can try to add even more sealant to the tire and air it up. Look for a fine line of sealant that has coagulated at the boundary of the tire and rim. Where the line is missing, pinch the width of the tire until a little sealant squirts into the gap, but too hard as to unseat the bead entirely. The sealant that escapes can help build the seal around the bead.